Difference between revisions of "Main Page"
Jump to navigation
Jump to search
Profenno.L (talk | contribs) (1147) |
|||
| (16 intermediate revisions by 4 users not shown) | |||
| Line 13: | Line 13: | ||
[[Image:TS3Help.png|200px|link=Teamspeak]] | [[Image:TS3Help.png|200px|link=Teamspeak]] | ||
[[Image:Discord Help.png|200px|link=Discord]] | [[Image:Discord Help.png|200px|link=Discord]] | ||
| + | [[Image:Game_Guides.png|200px|link=Game_Guides]] | ||
|} | |} | ||
| style="border:1px solid transparent;" | | | style="border:1px solid transparent;" | | ||
| Line 85: | Line 86: | ||
{| class="wikitable" style="width:100%; margin:1.2em 0 6px 0; border-width:1px border-style:solid #000000; " | {| class="wikitable" style="width:100%; margin:1.2em 0 6px 0; border-width:1px border-style:solid #000000; " | ||
| − | ! colspan=" | + | ! colspan="5" style="text-align: center; font-weight: bold; color:#000000; background:#ffcc00; font-size:140%; font-weight:bold; border:1px solid #000000;" | [[Auxiliary Combat Detachment]] [[image:ACD.png|50px|link=Auxiliary Combat Detachment]] |
|- | |- | ||
| − | | style="width: | + | | style="width: 15%; font-size:120%; text-align: center; vertical-align:top; border:1px solid #000000;" data-mce-style="width: 15%; text-align: center;"|'''[[Alpha Company A/ACD|Alpha Company]]<br> |
| − | | style="width: | + | [[image:A-ACD_shrank.png|100px|link=Alpha Company A/ACD]]''' |
| − | | style="width: | + | | style="width: 15%; font-size:120%; text-align: center; vertical-align:top; border:1px solid #000000;" data-mce-style="width: 15%; text-align: center;"|'''[[Bravo Company B/ACD|Bravo Company]]<br> |
| + | [[image:B_ACD_shrank.png|100px|link=Bravo Company B/ACD]]''' | ||
| + | | style="width: 15%; font-size:120%; text-align: center; vertical-align:top; border:1px solid #000000;" data-mce-style="width: 15%; text-align: center;"|'''[[Charlie Company C/ACD|Charlie Company]]<br> | ||
| + | [[image:C_ACD_shrank.png|100px|link=Charlie Company C/ACD]]''' | ||
| + | | style="width: 15%; font-size:120%; text-align: center; vertical-align:top; border:1px solid #000000;" data-mce-style="width: 15%; text-align: center;"|'''[[Starter Platoon SP/ACD|Starter Platoon]]<br> | ||
| + | [[image:SP_ACD.png|100px|link=Starter Platoon SP/ACD]]''' | ||
| + | | style="width: 15%; font-size:120%; text-align: center; vertical-align:top; border:1px solid #000000;" data-mce-style="width: 15%; text-align: center;"|'''[[Reserve]]<br> | ||
| + | [[image:150px-Reserve-guidon.png|100px|link=Reserve]]''' | ||
|- | |- | ||
|} | |} | ||
| Line 96: | Line 104: | ||
! colspan="6" style="text-align: center; font-weight: bold; background:#ffcc00; font-size:120%; font-weight:bold; border:1px solid #000000;" | '''Supported Games''' | ! colspan="6" style="text-align: center; font-weight: bold; background:#ffcc00; font-size:120%; font-weight:bold; border:1px solid #000000;" | '''Supported Games''' | ||
|- | |- | ||
| − | | style="padding:2px;" margin:3px; style="width:25%; text-align:center; | [[Image:Arma3Button.png|none|180px|link=https://store.steampowered.com/app/107410/Arma_3/]] || style="padding:2px;" margin:3px; style="width:25%; text-align:center; |[[Image:HLLButton.png|none|180px|link=https://store.steampowered.com/app/686810/Hell_Let_Loose | + | | style="padding:2px;" margin:3px; style="width:25%; text-align:center; | [[Image:Arma3Button.png|none|180px|link=https://store.steampowered.com/app/107410/Arma_3/]] || style="padding:2px;" margin:3px; style="width:25%; text-align:center; |[[Image:HLLButton.png|none|180px|link=https://store.steampowered.com/app/686810/Hell_Let_Loose/]] |
|} | |} | ||
| Line 107: | Line 115: | ||
| style="padding:2px;" margin:3px; style="width:75%; text-align:center; | | | style="padding:2px;" margin:3px; style="width:75%; text-align:center; | | ||
|- | |- | ||
| − | !rowspan ="3" style="padding:2px;" margin:3px; style="width:25%; text-align:center; | [[Image:HLLLogoSmall.png]] || style="padding:2px;" margin:3px; style="width:75%; text-align:center; | | + | !rowspan ="3" style="padding:2px;" margin:3px; style="width:25%; text-align:center; | [[Image:HLLLogoSmall.png]] || style="padding:2px;" margin:3px; style="width:75%; text-align:center; | |
|- | |- | ||
| − | | style="padding:2px;" margin:3px; style="width:75%; text-align:center; | [https://www.battlemetrics.com/servers/hll/ | + | | style="padding:2px;" margin:3px; style="width:75%; text-align:center; | [https://www.battlemetrics.com/servers/hll/13075059 https://cdn.battlemetrics.com/b/horizontal500x80px/13075059.png] |
|- | |- | ||
| style="padding:2px;" margin:3px; style="width:75%; text-align:center; | [https://www.battlemetrics.com/servers/hll/12540271 https://cdn.battlemetrics.com/b/horizontal500x80px/12540271.png] | | style="padding:2px;" margin:3px; style="width:75%; text-align:center; | [https://www.battlemetrics.com/servers/hll/12540271 https://cdn.battlemetrics.com/b/horizontal500x80px/12540271.png] | ||
Revision as of 22:48, 26 September 2022
  |
|---|
|
|


| Regimental Headquarters (RHQ) | |||||
|---|---|---|---|---|---|
Information Management Office
|
Security Operations Department
|
Recruitment Oversight Office
| |||
| Regimental Support Departments | |||||
|---|---|---|---|---|---|
S1 - Personnel
|
S2 - Intelligence
|
S3 - Operations
|
S5 - Public Affairs
|
S6 - Information Systems
|
S7 - Training
|
| Regimental Secondary Departments | |||||
|---|---|---|---|---|---|
Wiki Admin Group
|
Military Police |
Judge Advocate General Corps
|
Regimental Recruiting Department
|
Recruit Training Command
| |
| 1st Battalion Headquarters | ||
|---|---|---|
| Alpha Company |
Bravo Troop
|
Charlie Company
|
| 2nd Battalion Headquarters | |||
|---|---|---|---|
Alpha Company
|
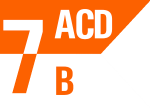
Bravo Company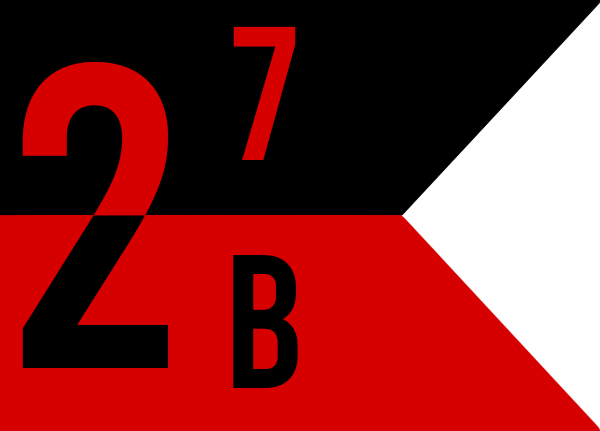
|
Charlie Company
| |
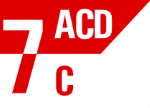
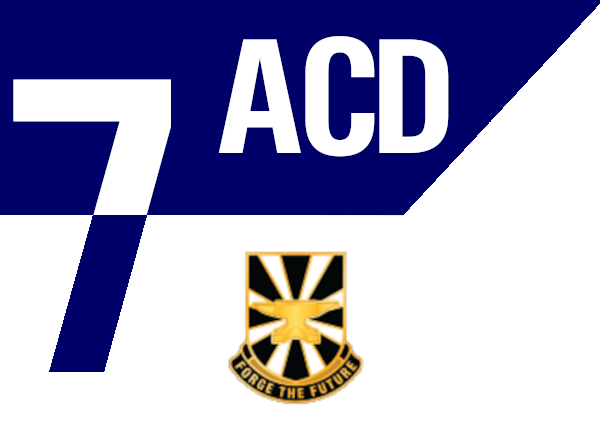
Auxiliary Combat Detachment 
| ||||
|---|---|---|---|---|
| Alpha Company
|
Bravo Company
|
Charlie Company
|
Starter Platoon
|
Reserve
|


| Supported Games | |||||
|---|---|---|---|---|---|
 |
 | ||||
Public Server Information | ||||
|---|---|---|---|---|
 |

| |||
 |
||||

| ||||

| ||||